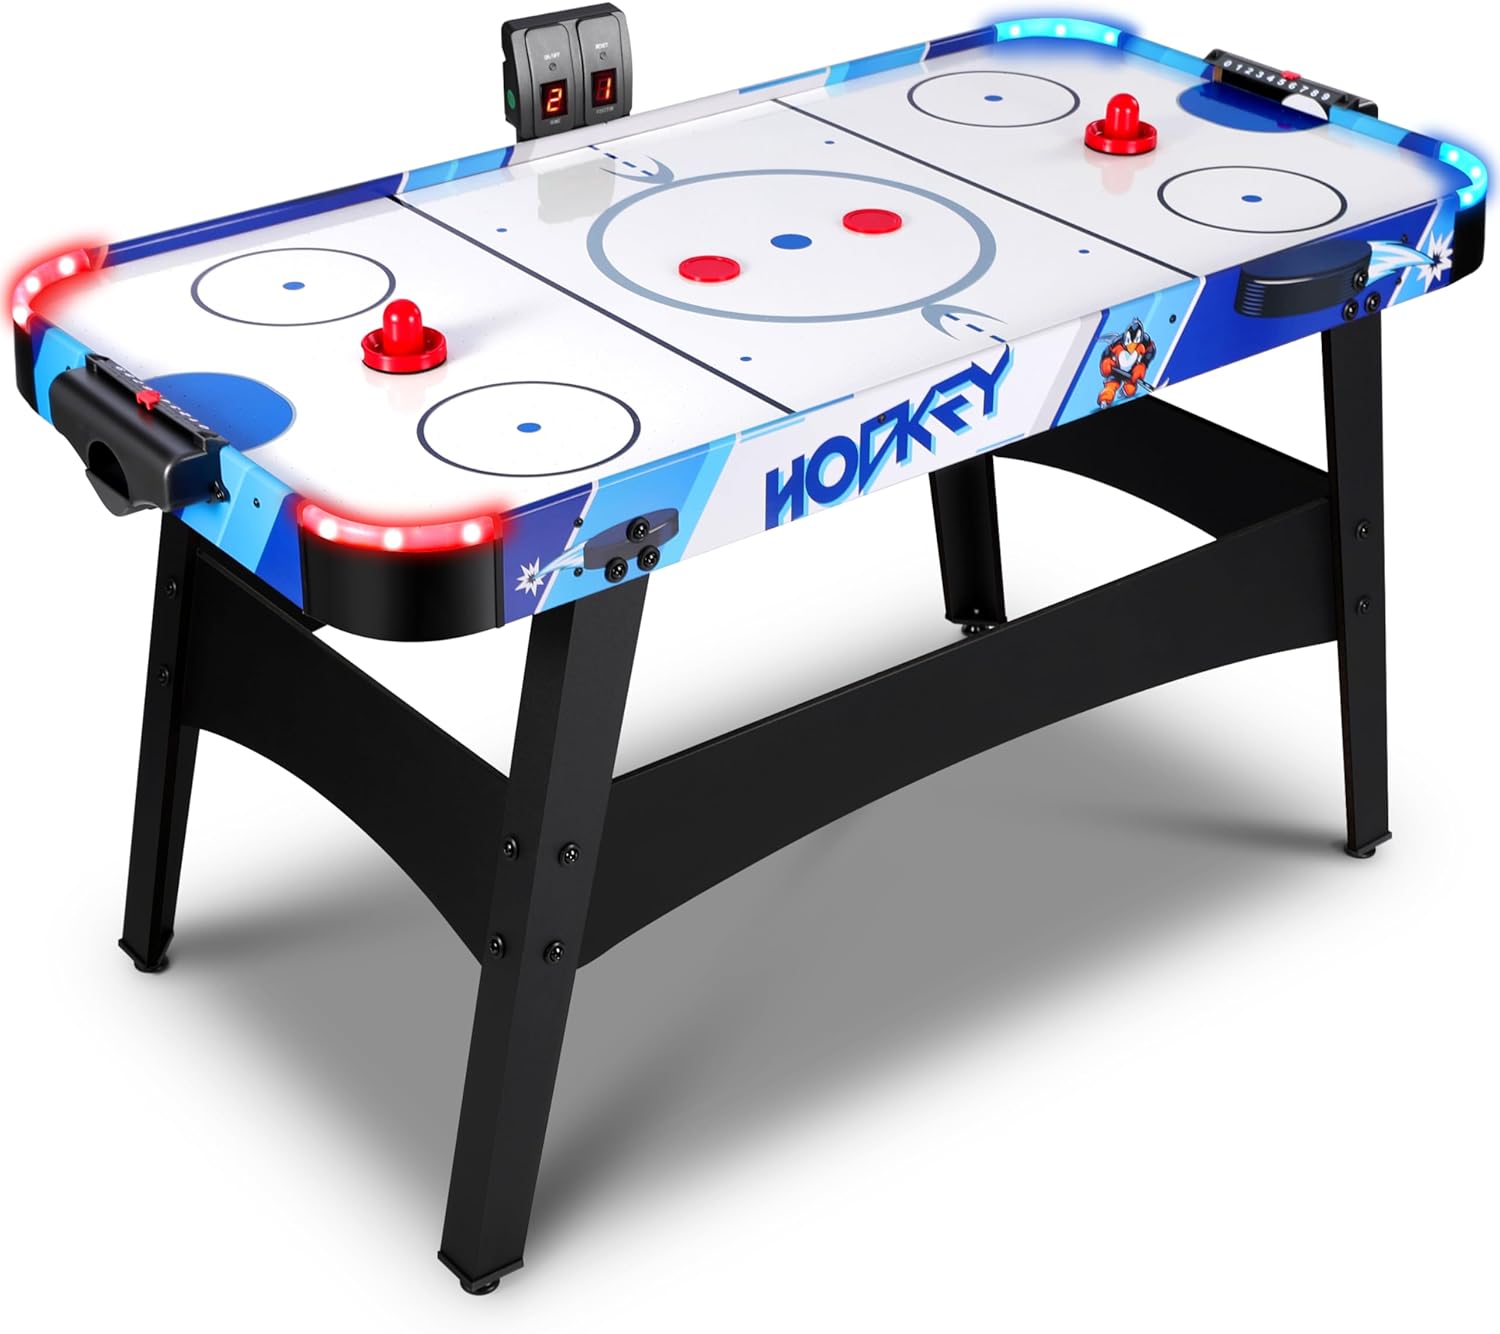
Start with the safest likely cause
Air Hockey Table Parts and Compatibility Guide should begin with power removed and the simplest external checks. A slow puck or inconsistent field can come from the puck, dirt, moisture, blocked perforations, an obstructed intake or an uneven cabinet. It does not automatically prove a failed blower or motor.
A five-minute diagnostic sequence
- Unplug the table and inspect the puck and field.
- Clean and dry both using the model-approved method.
- Inspect externally accessible intake areas.
- Confirm the cabinet is level along both axes.
- Follow the manual’s hole-cleaning, reset or fuse instructions.
What not to do
Do not pour cleaner onto the playing field. Do not treat wax, silicone or furniture polish as a universal speed fix; coatings can block air holes. Do not replace a motor solely because one zone of the field is slow. Do not open powered compartments unless the manufacturer explicitly identifies a consumer-serviceable procedure.
Match parts by model, not appearance
Pucks, power adapters, blowers and score components can look interchangeable while differing in weight, voltage, connector or mounting pattern. Record the table brand, model number, existing part number and dimensions. Unknown compatibility should remain unknown rather than becoming an affiliate recommendation.
Retest one variable at a time
After cleaning, use a clean known-compatible puck and test the full field. After leveling, test drift in both directions. A controlled sequence makes it possible to separate a puck problem from a surface or airflow problem without buying several parts at once.
Delivery and assembly reality check
Air Hockey Table Parts and Compatibility Guide is incomplete until the product can reach its final room. Measure the narrowest doorway, the inside stair turn and any elevator opening. Compare those measurements with the shipping carton when published—not only the assembled cabinet. Read whether the manual calls for the cabinet to be inverted while legs are attached and how many adults should lift it.
Choose an assembly zone that protects the playing surface and leaves access to fasteners. After placement, level the cabinet along both axes and test the field with a clean compatible puck. These ownership steps can make a smaller, serviceable table more valuable than a marginally larger one.
Next steps
Use the room calculator for a measurable fit, open the relevant collection for exact product listings, and use the comparison tool to keep competing specifications aligned. If the current source does not publish a field, treat that as an open question for the manufacturer or seller.
Frequently asked questions
What is the first thing to verify for air hockey table parts and compatibility guide?
Verify the exact model or format, its published dimensions and the user problem it is meant to solve.
How does room fit affect this decision?
A table must preserve player clearance and circulation after its cabinet footprint is placed. Use the room calculator rather than the marketing size alone.
Can prices and availability change?
Yes. The live Amazon listing controls current price, seller and availability; this guide avoids hard-coded commercial claims.